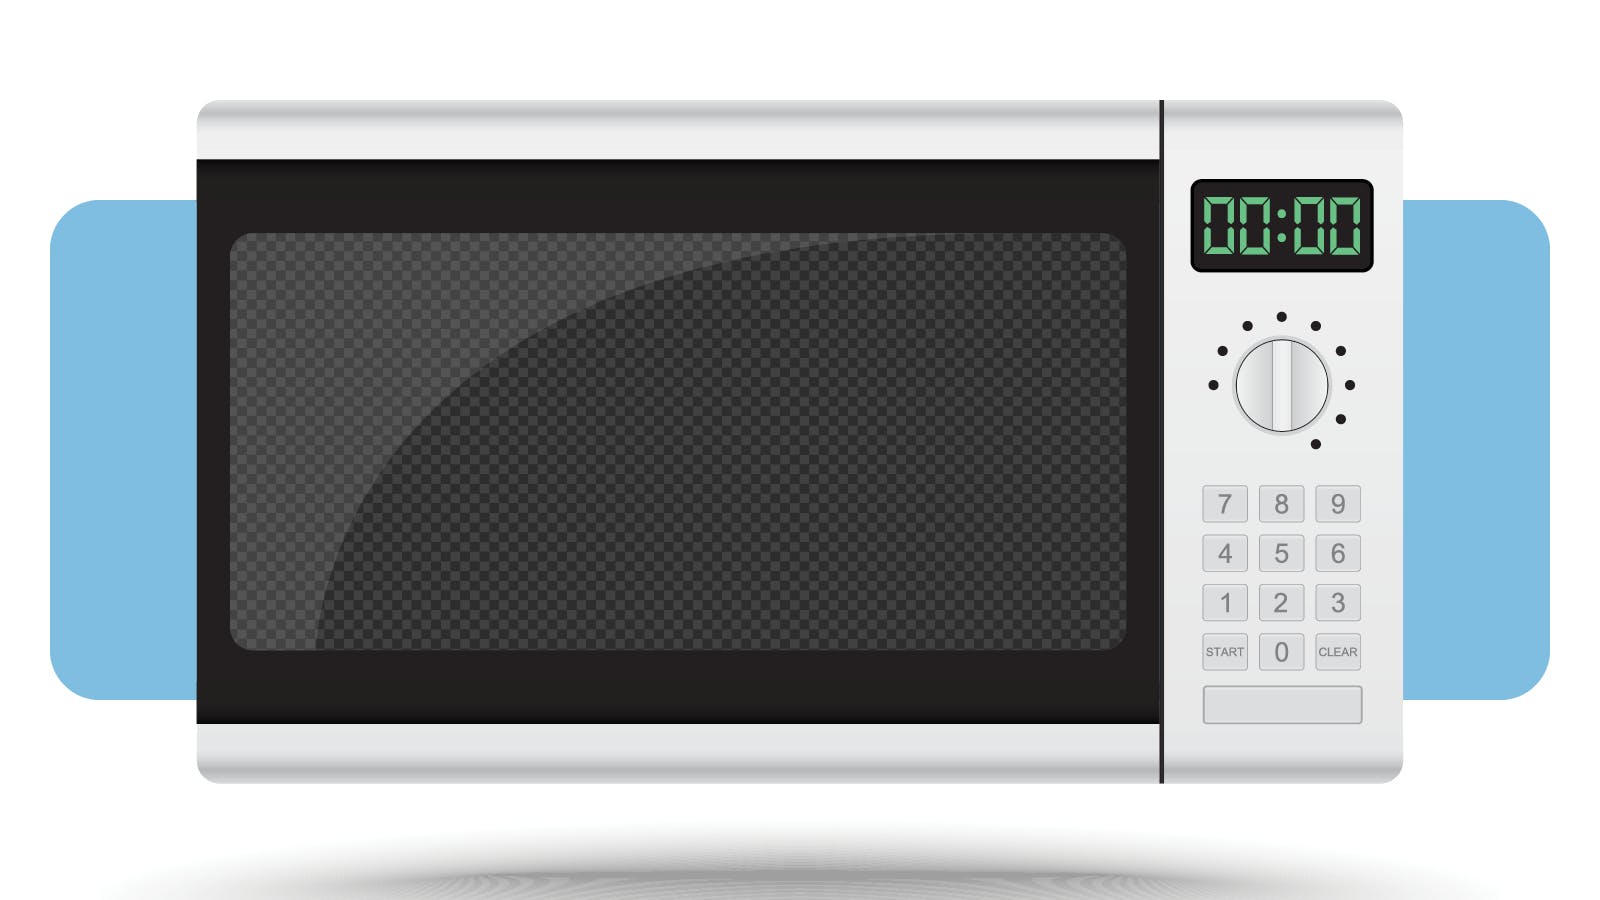

It's time to fall back into the coziness of the holiday season. And one extra hour of sleep on November 5th is the whipped cream on the pie. BUT... you've been left with the blinking time of annoyance on your microwave display. And, to be honest, most people don't look forward to daylight savings time shifts at all.
If you’ve been dreading it, you’re not alone. Only 20% of Americans want to continue springing forward and falling back each and every year. The other 80%? They’re leaning toward change.
For now, though, daylight savings time is a reality. And while it might be tempting to just wait around until we spring forward next year, knowing the right time will be worth those few quick button presses. Trust us.
So, let’s revisit how to set a microwave clock, whether you’re a Samsung fan or a Whirlpool customer.
If your model is super-smart there’s a chance it automatically registered the time change. If it’s more than a few years old, though, odds are it didn’t. And, as we all know, microwaves are notoriously tricky…
So, here’s how to set a microwave clock for appliances from five popular manufacturers:
If you have a GE appliance with electronic push buttons, start by pressing the ‘CLOCK’ button. You’ll be prompted to enter the correct time of day, in theory, one hour later than the microwave’s current display time. Next, select a.m. or p.m. Finally, press either the ‘START’ or ‘CLOCK’ button. This will complete the time change process and display the new time.
If your GE appliance has to dial electronic controls instead of electronic push buttons, start by pressing the ‘SETTINGS’ button. Turn the dial to highlight the ‘CLOCK SET’ option and press the dial to select. Turn the dial to the right to increase the hour by one, then again press the dial to select. If you also need to adjust the minutes, turn the dial to do so. Once correct, press the dial to solidify the time change.
For Samsung models with a ‘Clock’ button, begin by pressing ‘Clock’ once to launch a display in 12-hour time or twice to launch a display in 24-hour (military) time. Use the ‘+’ and ‘-’ buttons until the screen reflects the correct time. If you need to change the minutes as well, you can press ‘Clock’ again followed by the ‘+’ and ‘-’ buttons as needed. When the time displayed is correct, press ‘Clock’ one more time to activate the display.
For Samsung models with an ‘Options’ button, go ahead and press it to start. Then, press ‘9’, which will prompt a ‘Clock’ message on the screen. Press ‘OK’. Enter the correct time using the number pad. Keep in mind that at least three numbers are needed. For example, 9-0-0 will denote 9:00. There is no option for a.m. or p.m. so once the time is correct, press ‘OK’. The new time should now appear!
Panasonic directions vary from model to model. If your microwave has a ‘Clock/Set’ button, first press ‘Clock/Set’. The screen will display a blinking colon (:). Enter the correct time of day using the numerical keypad and again press ‘Clock/Set’. The colon will stop blinking, indicating that the new time is now locked in.
If your microwave has a button with an hourglass icon, press the hourglass icon button twice. If your microwave has a button with a clock icon, you can press the clock icon button once. The screen will then display a blinking colon (:). Use the ‘+’ and ‘-’ buttons to edit the time or swipe the slider bar. When the time in the display window is correct, press the hourglass icon button or clock icon button once. The colon will stop blinking, indicating that the correct time is now set.
If your microwave has a ‘Clock’ or ‘Clock (Less)’ button, start by pressing one of the two. The screen will display a blinking colon (:). Enter the correct time of day using the numerical keypad and again press ‘Clock’ or ‘Clock (Less)’. You’ll know that the new time has been officially set when the colon stops blinking.
If your microwave has a ‘Clock/Timer button’, start by pressing this button twice. The screen will display a blinking colon (:). Enter the correct time of day using the numerical keypad and again press ‘Clock/Timer’. The colon will stop blinking, indicating that the correct time is now set.
Begin by pressing the ‘user pref’ button, followed by the ‘1’ button. Enter the correct time of day using the numerical keypad. Press the ‘START enter + 30-sec’ button to set the time. Keep in mind that 24-hour (military) time cannot be displayed. If you try to enter 24-hour time, an ‘ERROR’ message will appear. In this case, press the ‘STOP clear’ button and start the process over again.
For a Whirlpool Over the Range Microwave, touch the ‘Open’ button to access the controls. Press the ‘Clock’ button. Press ‘Clock’ until the screen displays ‘Clock - Enter the Clock Time’. Input the correct time of day using the numerical keypad and wait until the screen displays ‘Clock Saved’. The correct time of day is now set!

Keep in mind that microwaves (and their clocks) can vary quite a bit. There may be changes from one model to another, and almost definitely from one manufacturer to another. That means that, unfortunately, one size doesn’t fit all.
If you’re still having trouble setting your microwave clock, or if you have a different manufacturer entirely, it might be time to break out the old user manual. If that doesn’t work (or if it’s been long lost) try the manufacturer’s support site. You might find handy FAQ articles or an option to live chat with a customer service rep.
Check us out on Feedspot's Top 100 Mortgage Blogs on the Web.